
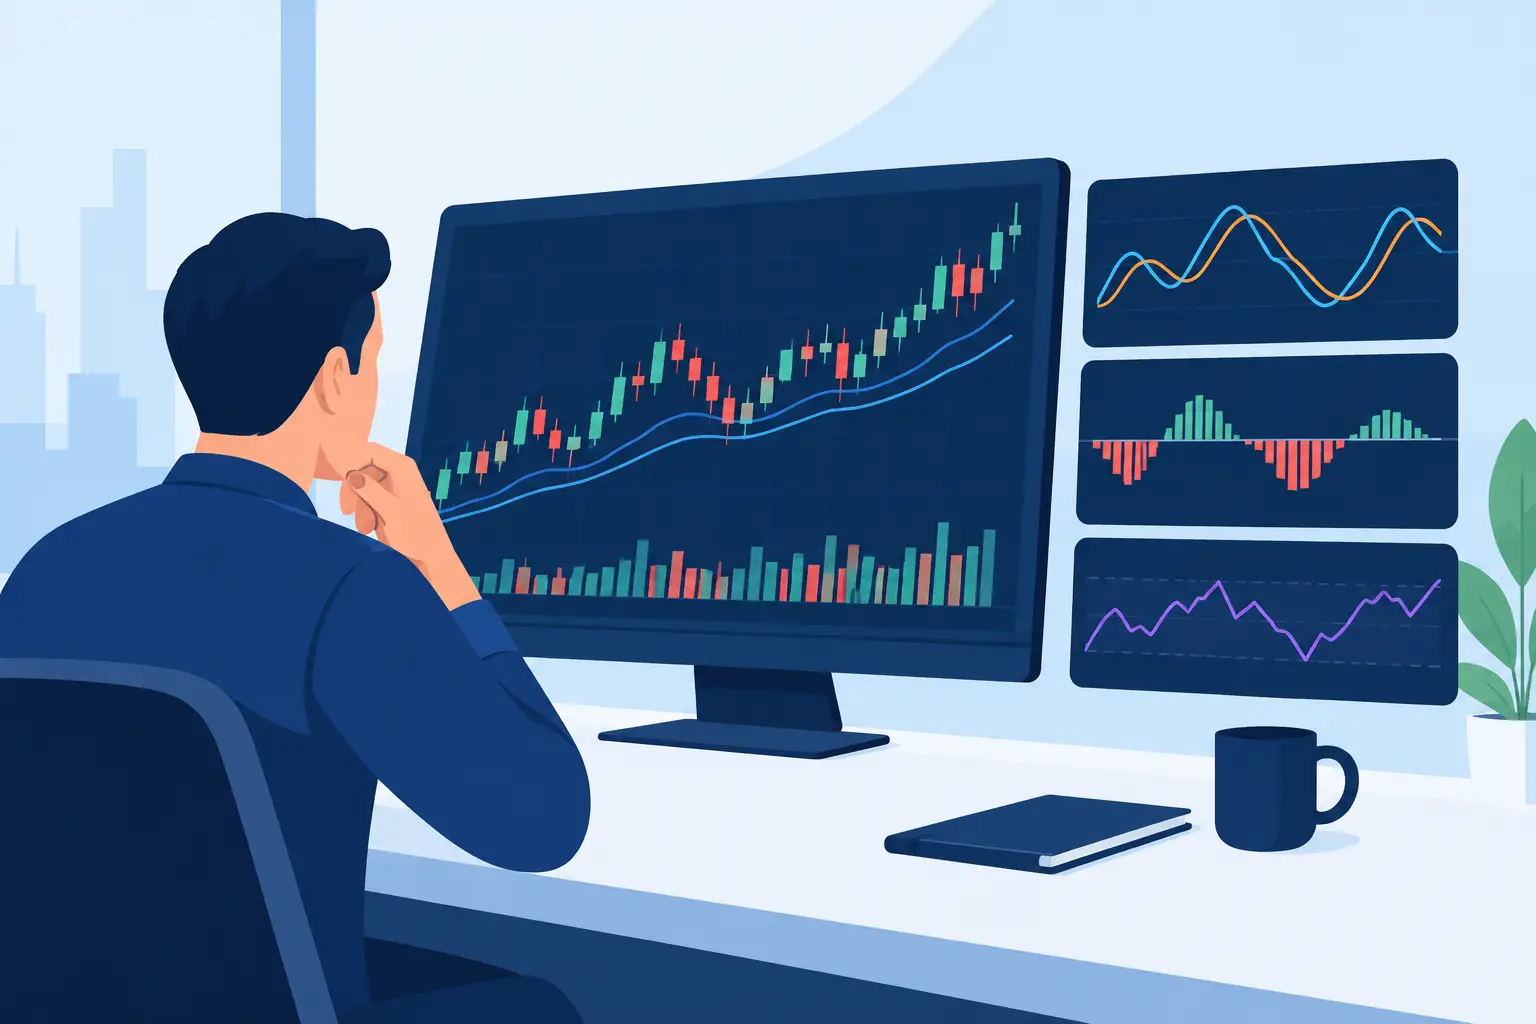
At 9:37 a.m., Nasdaq futures can look like they are breaking out, reversing, and trending all within three candles. That is why futures indicators cannot be judged by how impressive they look after the fact. They must help you answer a harder real-time question: Is this location worth risking capital, and is participation present now?
Most traders do not need another signal. They need a decision process. A chart packed with oscillators, moving averages, arrows, and alerts can create the feeling of control while hiding the one thing that matters most: auction context. Price is always moving. That does not mean every move deserves a trade.
The objective is simple: locate value, confirm participation, design the trade, and protect the account. When your indicators support that sequence, they become operating tools rather than distractions.
Why Most Futures Indicators Create More Noise
Conventional indicators often begin with price and then calculate a condition from what price has already done. That is not automatically useless. A moving average can help define directional posture. An oscillator can show whether a market is stretched. Volume can reveal whether activity is increasing.
The problem starts when a trader treats any one of those readings as an entry command. A bullish crossover at the top of a completed auction is still a poor location to buy. An oversold reading at a high-timeframe support zone may be useful, but the same reading in the middle of a fast liquidation can get you run over.
It is not you. It is the model.
A signal-first model asks, “What did the indicator just print?” An auction-based model asks, “Where is price relative to accepted value, where is liquidity likely resting, and who is participating at this level?” The second set of questions creates better trade selection because it puts context before entry.
This does not mean traders should reject familiar tools. It means every tool needs a job. If it cannot help identify location, validate participation, define execution, or control risk, it may be taking up chart space without improving decisions.
Futures Indicators Need Four Operating Layers
A professional-grade chart is not the chart with the most information. It is the chart where each piece of information earns its place. A practical framework separates the decision into four layers.
1. Locate high-timeframe value
Start with where price is trading inside the broader auction. Markets regularly rotate between areas of acceptance and probe beyond those areas to discover new value. Previous value zones, major auction levels, session extremes, and areas of repeated trade provide the map.
This map changes how you interpret the same candle pattern. A strong green candle into the upper edge of established value is not the same as a strong green candle reclaiming value after a failed breakdown. One may be late buying into potential resistance. The other may signal that sellers failed and buyers are regaining control.
Location also determines when to do nothing. The middle of a balanced range is where many traders donate money through overtrading. Price may move enough to trigger indicators, but it has not reached a location where the reward meaningfully justifies the risk. Patience is not passive. It is account protection.
2. Confirm participation
A level is a place to pay attention, not a reason to enter. Once price reaches an important zone, the next question is whether participation supports the idea.
This is where order flow, pace, volume behavior, and directional response matter. Is price accepting above a reclaimed level, or is it immediately rejecting? Are buyers lifting offers with enough force to hold the advance? Is the move expanding with participation, or drifting upward on thin activity before stalling?
Confirmation should reduce uncertainty, not create a new prediction game. You do not need to know where the market will close. You need evidence that the trade thesis is working well enough to define risk. A clean response from value, followed by sustained participation, is more useful than a dozen lagging confirmations firing after the move is already extended.
3. Design the trade before the click
Good futures indicators should make trade structure visible. Before entering, define the invalidation point, the first objective, and what must happen for you to stay in the trade. If those answers are unclear, the setup is not ready.
For example, a long from a higher-timeframe value zone may be valid only while price holds above the reclaimed edge of that zone. The stop belongs beyond the point that proves the auction idea wrong, not at a random dollar amount chosen after entry. The first target may be the next liquidity area or opposing value boundary, not an arbitrary number of points.
This is where many traders confuse aggression with skill. Entering quickly is not the same as executing well. A fast market sometimes requires decisive action, but speed without structure is just chasing. Trade with intention: know what would confirm the trade, what would invalidate it, and where partial profits make sense.
4. Manage risk while the auction develops
Risk management is not a stop-loss setting added at the end of the process. It begins with position size and trade location. A setup with a wide invalidation may still be tradable, but only if size is adjusted to keep the account risk fixed.
Management also needs rules for favorable movement. If price reaches the first objective and participation fades, taking a partial is not fear. It is responding to changing conditions. If price accepts beyond the level and participation builds, holding a runner may be justified. It depends on the auction, not on hope.
The same discipline applies to losses. A valid loss is part of business. Moving a stop because you want the idea to work is not. The market does not owe a recovery because your analysis was thoughtful. Protect the account so you can take the next qualified opportunity without emotional baggage.
What to Look for on Your Chart
The best indicator setup is usually less about adding tools and more about arranging them in the correct order. Your chart should first show meaningful value and key auction levels. It should then show whether participation confirms or rejects those locations. Finally, it should support trade planning and risk control while the position is active.
That structure is different from stacking indicators that all measure the same thing. Three momentum studies do not create three independent reasons to trade. They often repeat the same delayed message with different colors.
First Light Beacon is built around this integrated approach: higher-timeframe value, participation context, trade structure, and protection displayed as one auction-intelligence workflow. The purpose is not to hand traders a magical entry arrow. It is to eliminate guesswork where it matters most - location, qualification, execution, and management.
How to Test Indicators Without Fooling Yourself
Do not evaluate a tool by scrolling backward and finding perfect examples. Hindsight makes nearly every indicator look smarter than it was. Test it in the order you will actually use it: before the session, at the level, during execution, and after the trade.
Ask whether the tool improves a specific decision. Does it keep you out of poor locations? Does it help distinguish a genuine acceptance move from a quick liquidity sweep? Does it define an invalidation point clearly enough to size the trade correctly? If the answer is vague, the tool may be entertainment rather than edge.
Keep a simple review record for a meaningful sample of trades. Track the location, confirmation, entry quality, planned risk, management decision, and outcome. The outcome matters, but process quality matters more. A losing trade taken from a valid location with defined risk can be a good trade. A winner taken from the middle of nowhere can train bad behavior.
Build a Chart That Helps You Wait
The real value of futures indicators is not that they make you trade more often. Their value is that they make it easier to wait for better conditions. Clear value zones tell you where attention belongs. Participation tools tell you whether the market is responding. Defined trade structure tells you whether the reward is worth the risk.
That is how independent traders stop reacting to every candle and start operating with a plan. Bank like a pro by demanding context before entry, defining risk before emotion takes over, and letting the market earn your capital one qualified trade at a time.