
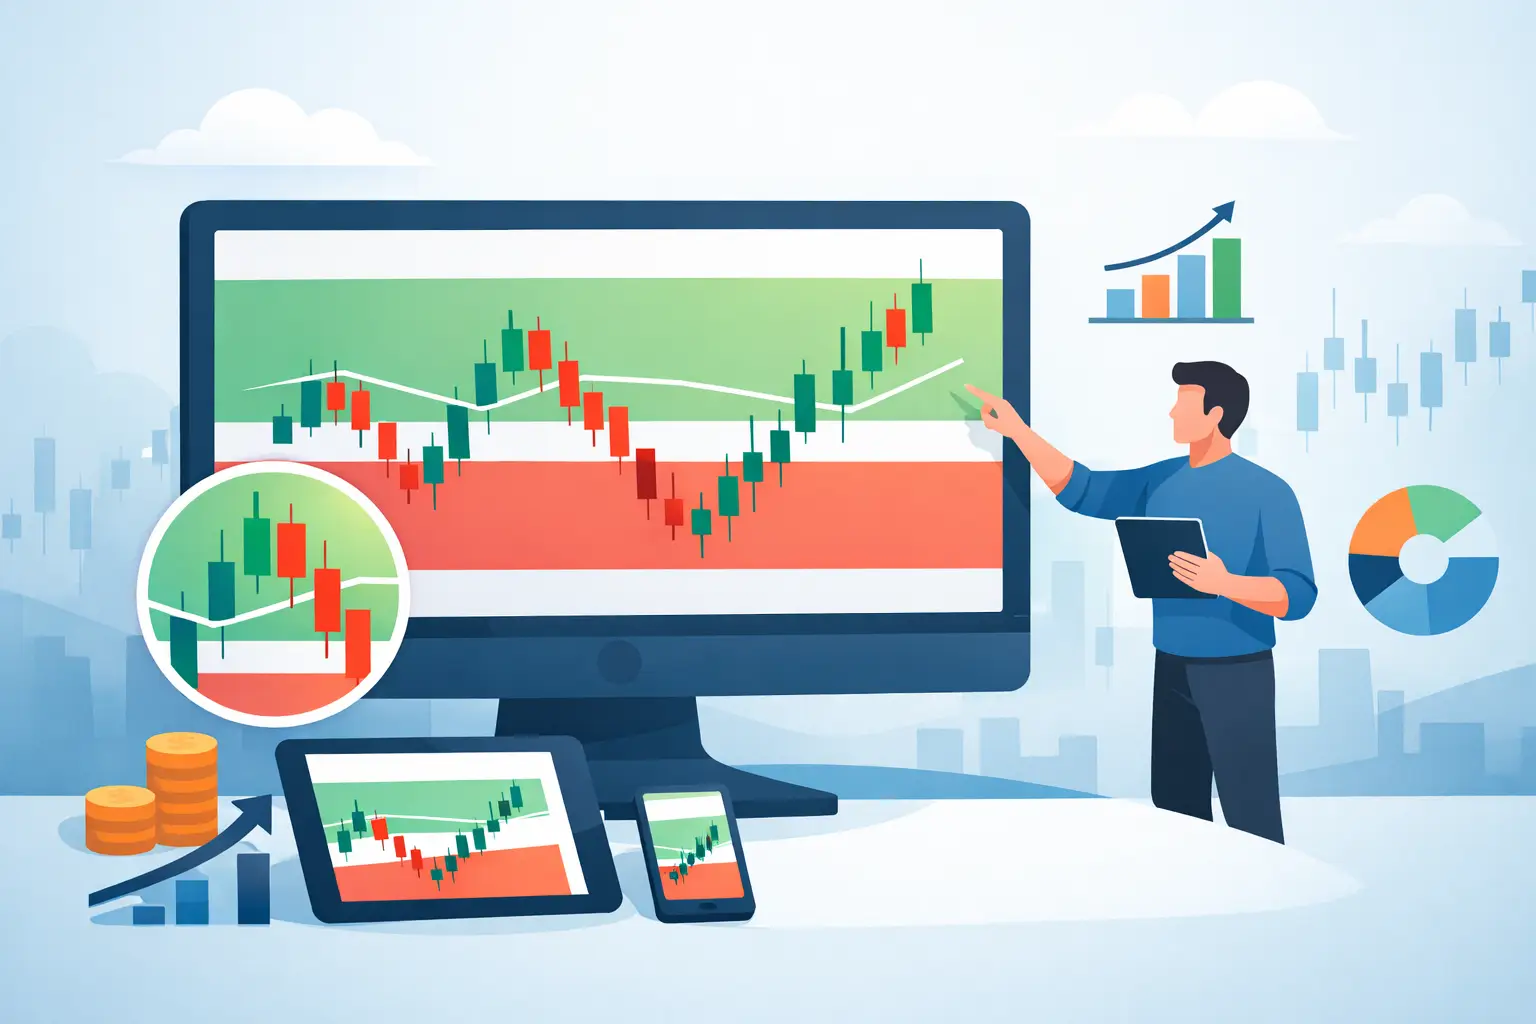
A Nasdaq futures chart can move 40 points in minutes and still offer only one trade location worth taking. The difference is not another oscillator or a faster candle pattern. It is knowing where price sits inside the auction before you enter. When traders learn to use value zones TradingView charts become less about reacting to every push and more about executing from meaningful locations.
Value zones give you a working map of higher-timeframe auction areas where buyers and sellers previously accepted, rejected, or defended price. That context matters because a setup in the middle of nowhere is not the same as a setup at the edge of value. Context before entry.
What value zones show on TradingView
A value zone is not a prediction line. It is a defined area on the chart that represents a meaningful auction location. Depending on the framework, it may reflect prior balance, high-timeframe acceptance, a defended area, or a location where the market is likely to make a decision.
The job of the zone is simple: tell you when to pay attention. It does not tell you to buy or sell blindly.
That distinction protects the account. Traders often treat a level as an automatic reversal signal. Price touches a support area, they buy, and then they are surprised when the market drives straight through it. A zone identifies location. Participation and structure determine whether there is a trade.
On TradingView, visible value zones remove much of the ambiguity created by a crowded chart. Instead of drawing and redrawing subjective support and resistance levels, you can see the auction areas that deserve focus before the session gets moving.
How to use value zones in TradingView
The practical workflow is not complicated. It is disciplined. Start with location, wait for confirmation, define the trade, then manage risk without improvising.
1. Locate price relative to higher-timeframe value
Before the open, identify where current price is trading relative to your active value zones. Is price approaching the upper edge of a prior value area? Is it holding above a zone after a breakout? Is it rotating in the center of a balanced region?
These are different market conditions, and they call for different expectations.
At the edge of a value zone, the market may reject and rotate back through value. Or it may accept beyond the zone and begin a continuation auction. In the middle of a zone, the market often has less immediate asymmetry. That does not mean you cannot trade there, but it means your reason for entering must be stronger and your target may be smaller.
Do not force a directional opinion because a zone is on the screen. Let the market show whether that area is being defended, accepted, or ignored.
2. Wait for participation to validate the location
A value zone without participation is just a place to observe. The trade develops when order flow, momentum, and price behavior begin to align with the location.
For a long idea at a lower value zone, you may want to see price test the area, fail to continue lower, and reclaim nearby structure with buyers becoming active. For a short idea at an upper zone, you may want to see an attempted push higher fail, selling pressure enter, and price lose the local structure that supported the move.
The exact confirmation can vary by trader and instrument. A fast NQ scalp may require quicker evidence than a slower ES rotation. What should not vary is the sequence: location first, confirmation second. Entering before the market reveals participation is how traders turn a good area into a bad trade.
First Light Beacon users can pair value zones with participation and execution tools to keep that sequence visible on one chart. The point is not to stack signals. It is to qualify the auction.
3. Design the trade before you click
Once price is at value and participation confirms, define the trade in plain terms. Where is the entry? Where is the invalidation? Where is the first logical objective? What will make you reduce risk, scale, or exit early?
A well-designed long from a lower zone should have a clear reason it is wrong. Usually, that means the market accepts below the area, fails to reclaim it, or shows sustained selling that invalidates the original auction thesis. Your stop belongs beyond the point where the idea no longer makes sense, not at a random dollar amount chosen after the fact.
Targets should also come from structure. The opposing edge of value, an internal high-volume area, a prior session extreme, or the next higher-timeframe zone can all be logical objectives. A trade with a clean entry but no realistic path to target is not automatically a good trade.
This is where risk-reward must be treated honestly. If the proper stop is wide and the nearest logical target is close, pass. The market will provide another opportunity. Bank like a pro by refusing trades that require hope to work.
4. Manage the auction, not your emotions
After entry, continue reading price in relation to the zone. If price rejects the area as expected and drives toward your objective, manage according to the plan. If it stalls, loses participation, or re-enters value after an attempted breakout, adjust based on evidence rather than fear.
Do not move a stop simply because you dislike being wrong. Do not take profits early simply because a position turns green. Both habits replace a defined process with emotion.
A useful question during every trade is: Is the market still doing what this setup required? If the answer is no, protect capital. If the answer is yes, give the trade room consistent with its structure.
Three ways traders misuse value zones
The most common mistake is treating every touch as a reversal. Value zones can produce reversals, but they can also become launch points for continuation once price accepts through them. A zone is a decision area, not a guaranteed wall.
The second mistake is trading too many zones at once. If your chart contains every minor reference from multiple sessions, none of them carries enough practical weight. Focus on the active high-timeframe areas nearest current price. Clarity is an edge.
The third mistake is ignoring time and session context. A value zone tested during the quiet overnight session may behave differently when cash-session volume arrives. The same level can matter, but the quality of participation and speed of auction can change dramatically. For futures traders, especially those trading NQ, timing affects execution, stop placement, and position size.
A simple TradingView routine for value zones
Build the routine before the opening bell. Mark the active zones, note whether price is above, below, or inside value, and identify the nearest upside and downside references. Then write the two or three scenarios that would justify action.
For example, if NQ opens below a higher value zone, your plan might be to watch for rejection on a retest and target lower structure. If price reclaims and accepts above that same zone with strong participation, the short thesis is invalid. You now wait for a pullback or continuation structure that supports the opposite auction.
This preparation keeps you from narrating the market in real time. You are not trying to guess the next candle. You are waiting for price to reach a meaningful location and show its hand.
When value zones work best
Value zones are particularly useful when the market is rotating between established areas, retesting a breakout, or approaching prior acceptance after an extended move. They give you structure for fade opportunities and continuation trades alike.
They are less useful when used in isolation during highly erratic conditions. Major scheduled news, thin liquidity, and sudden volatility expansions can push through multiple zones before a clean auction develops. In those moments, reduce size, widen your standards, or stand aside. No chart tool removes market risk.
The edge comes from combining location with confirmation and controlled execution. Value zones help you see where the auction matters. Your process decides whether you participate.
A clean chart will not make you disciplined. A defined routine can. Use the zones to narrow your focus, wait for the market to confirm your idea, and protect the account when the auction says you are wrong.