
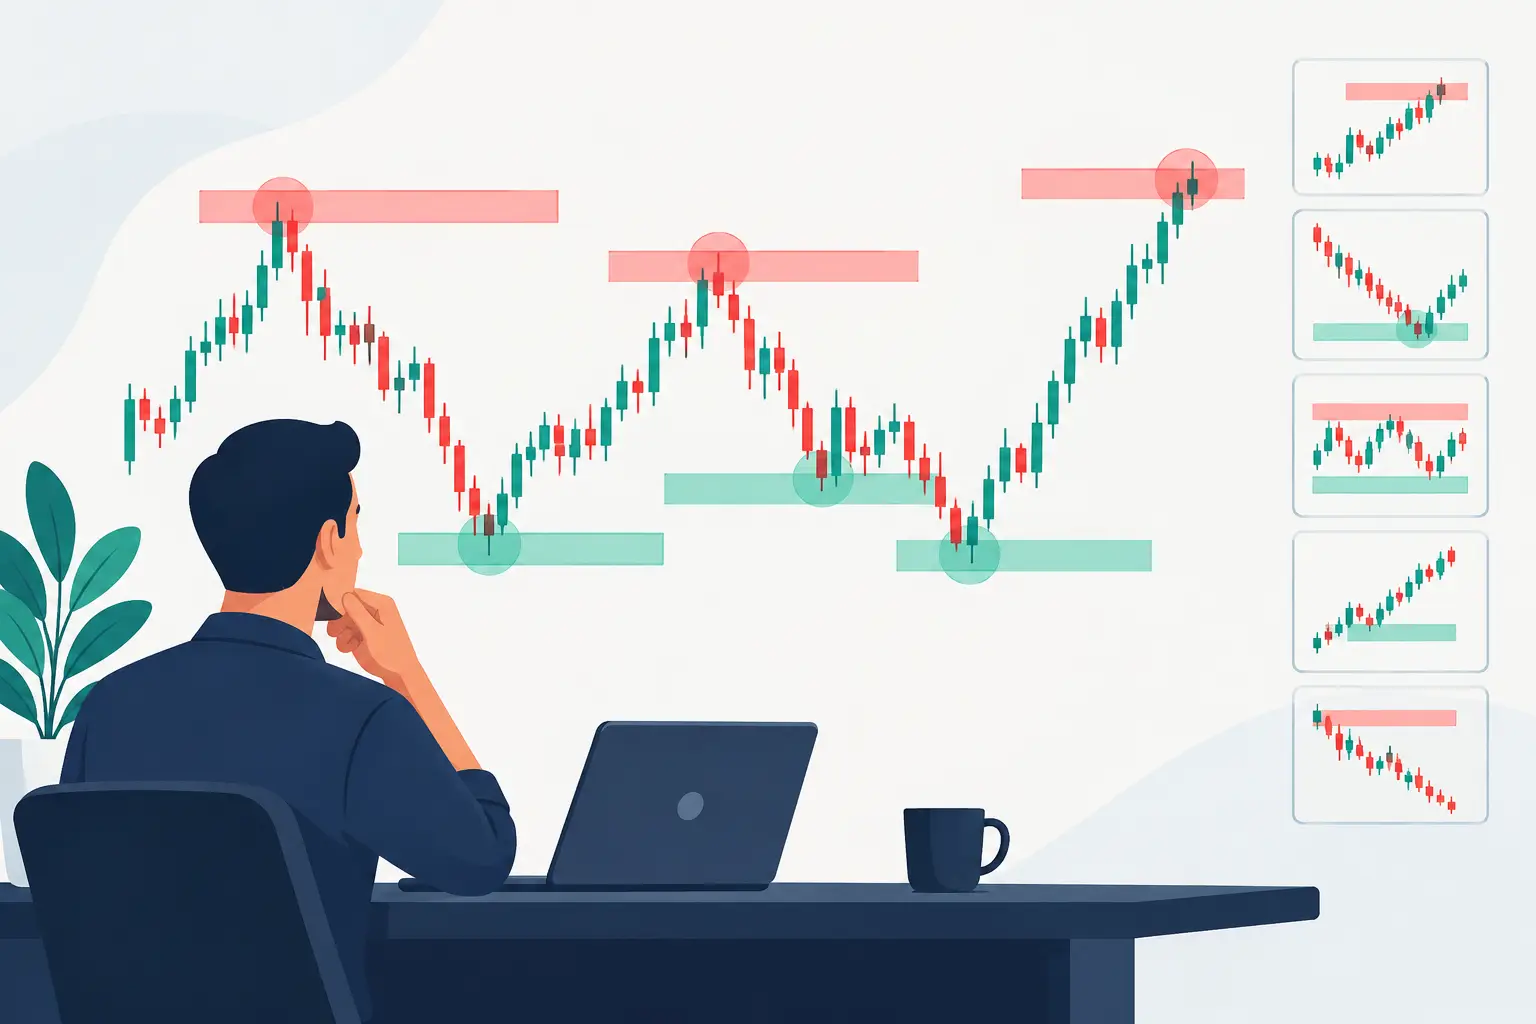
Most losing NQ trades are not caused by a bad trigger. They are caused by taking a trigger in the wrong location. A clean reversal candle in the middle of an auction is still a low-quality trade. These value zone examples show what changes when you know where price is relative to higher-timeframe value before you look for an entry.
Value is not a prediction. It is a map of where the market previously accepted price, rejected price, or found enough liquidity to change direction. Your job is not to trade every zone. Your job is to identify the zone, read participation as price reaches it, and act only when the auction gives you a defined opportunity.
What a Value Zone Actually Tells You
A value zone is an area, not a single magic price. It represents a meaningful section of prior auction activity where buyers and sellers established agreement or where one side forcefully rejected price. In futures markets, those areas often become decision points when price returns.
That does not mean every revisit must reverse. Sometimes a zone holds and produces a rotation. Sometimes price accepts through it and uses the zone as a launching point for continuation. The location matters first. What happens inside that location determines the trade.
This is why context before entry is non-negotiable. A level-only trader sees a line and guesses. An auction-based trader sees a zone, asks who is participating, measures the response, and defines risk before committing capital.
5 Value Zone Examples That Build Trade Context
1. Responsive Buying at a Lower Value Zone
Assume NQ sells off during the overnight session and opens into a lower higher-timeframe value zone. Price has already traveled lower, short-term sellers are pressing, and the emotional temptation is to chase the breakdown.
Instead, watch the response. If selling begins to stall inside the zone, downside progress slows, and buyers reclaim a nearby execution level with improving participation, the trade is no longer a blind long. It is a responsive-buying setup from a known location.
The entry belongs after confirmation, not at the first touch. Your stop belongs below the zone or below the auction low that invalidates the responsive idea. The first target is usually the nearest opposing intraday value or a prior area of acceptance.
The trade-off is clear: entering early offers better price but less proof. Waiting for confirmation may cost a few points, but it helps protect the account from catching a falling market with no evidence that sellers are finished.
2. Failed Acceptance Through Upper Value
Price opens below an upper value zone and rallies into it after a strong morning drive. Many traders see green candles and assume the move will continue. But the key question is whether price can accept above the zone, not whether it can touch it.
Acceptance requires more than a quick wick through the boundary. Look for sustained trade above the area, constructive pullbacks, and participation that supports higher prices. If price pushes into upper value, fails to hold, then rotates back beneath the zone with sellers taking control, that failure can create a defined short opportunity.
This setup is especially useful for traders who struggle with FOMO. A fast rally into higher-timeframe value is not automatically bullish. It may be late buying running directly into supply. Let the market prove acceptance before you join the move.
Your invalidation is straightforward: if price reclaims and holds above the zone with genuine participation, the failed-auction thesis is wrong. Exit. Do not turn a short-term idea into a stubborn opinion.
3. Breakout, Retest, and Value Becoming Support
Not every value zone is a reversal location. In a directional session, a previously resistant upper value zone can become support once price accepts above it.
Picture a market that opens balanced, breaks higher with clear expansion, and spends enough time trading above the zone to establish acceptance. The first pullback into that former resistance area is where traders often get their cleanest continuation opportunity. Rather than buying the initial expansion, they wait for price to test whether the auction can hold above value.
A healthy retest typically shows contained selling, a failure to regain the old range, and renewed buying as price leaves the area. The stop can sit below the zone or below the pullback structure. Targets should be based on the next higher-timeframe objective, not a random fixed number of points.
This is where patience banks like a pro. Chasing a breakout exposes you to poor location. Waiting for the retest gives you structure, invalidation, and a trade you can manage with intention.
4. Rotating Between Two Value Zones
Some sessions are not trend days. They are two-sided auctions moving between an upper and lower value zone. Traders who force directional trades in this environment often donate capital through repeated false breakouts.
Suppose price rejects the upper zone, rotates lower, then finds responsive buyers at the lower zone. Until one side can create acceptance outside the range, the higher-probability business may be taking measured rotations rather than holding for a home run.
The plan is simple but not easy. Near the upper zone, look for evidence that buyers cannot sustain higher prices before considering a short rotation. Near the lower zone, look for evidence that sellers cannot continue before considering a long rotation. In the middle, do less.
The middle is where clarity disappears and overtrading begins. If your risk is widest and your target is smallest, you are not finding opportunity. You are trading because you want action.
5. The News-Driven Sweep Through Value
High-impact economic releases can drive price straight through a zone that held perfectly the day before. This is not proof that value zones stopped working. It is proof that conditions changed.
During a news impulse, the first move can be liquidity-seeking, not true acceptance. Price may sweep through an upper or lower zone, trigger stops, and then either establish a new auction or sharply reject the move. The correct response is not to fade every spike or chase every breakout. Reduce assumptions and wait for the post-release structure to form.
If price holds beyond the zone after volatility settles, builds acceptance, and pulls back without losing the area, continuation may be valid. If it cannot hold and snaps back through the zone, the sweep may become the setup. The difference is participation and acceptance, not the size of the first candle.
On these days, smaller size and wider patience often make more sense than normal aggression. A great location does not remove event risk.
Turn Value Zones Into an Operating Process
Value zones work best as one part of a decision framework. First, locate higher-timeframe value before the active session begins. Mark the areas where prior auction behavior matters. Second, decide what you need to see at each area: rejection, acceptance, a retest, or a failed breakout.
Third, confirm participation. Price action alone can be deceptive when volume and order flow do not support the move. A zone tells you where to pay attention. Participation tells you whether the market is actually responding.
Finally, design the trade before entry. Define the trigger, stop location, first objective, and what would tell you to scratch the idea. If you cannot state those items clearly, you do not have a trade plan yet.
First Light Beacon is built around that sequence: locate value, confirm participation, design the trade, and eliminate guesswork. The point is not to decorate a chart with more levels. The point is to make fewer, better decisions when price reaches a meaningful location.
When a Value Zone Is Not Tradable
A zone can be valid and still not offer a trade. If price is chopping through it with no directional response, the auction is unresolved. If your stop must be too wide relative to the next realistic target, the location may not support the risk. If a major release is minutes away, waiting may be the disciplined choice.
This is where traders separate analysis from execution. You can be right that a zone matters and still be wrong to trade it at that moment. There is no prize for identifying every turn. There is only the quality of your process and the condition of your account.
The next time NQ approaches a marked area, do not ask whether the zone will hold. Ask what the market is proving there, what would invalidate your idea, and whether the trade gives you enough room to be paid for the risk. That is how value becomes usable information instead of another reason to guess.